
I’ve been meaning to make and blog about French macarons for quite a while now but as with most of my cooking, I really have to be in the mood in order to do it well. How do I feel about making them after spending two days in the kitchen? They are not hard but can be a little finicky. I actually feel that macarons, like croissants and other laminated dough products, are one of those things that are worth buying. You make it once or twice to say that you can make your own. (And there’s a satisfaction about not letting the macaron get the best of you. Macaron, I’ll show you who’s the boss.)
Macarons can be made using endless “biscuit” and filling combinations. I think the most famous is probably the ispahan flavor by Pierre Hermé. It is a masterful and ingenious combination of three complementary flavors: rose, raspberry and lychee. (I’ll do a separate post dissecting and Americanizing the ispahan macaron recipe.)
I did a lot of reading and went with Not So Humble Pie’s very detailed instructions. She spent over 80 hours in the kitchen mastering the macaron and used a scatter plot to compare the various recipes before posting her technique. I really like the way she works. The macaron is about technique so her recipe may not work for you. I repeated the recipe several times and I got something a little different each time. I'm not perfect after all =(
Ms. Humble's Scatter Plot Macarons
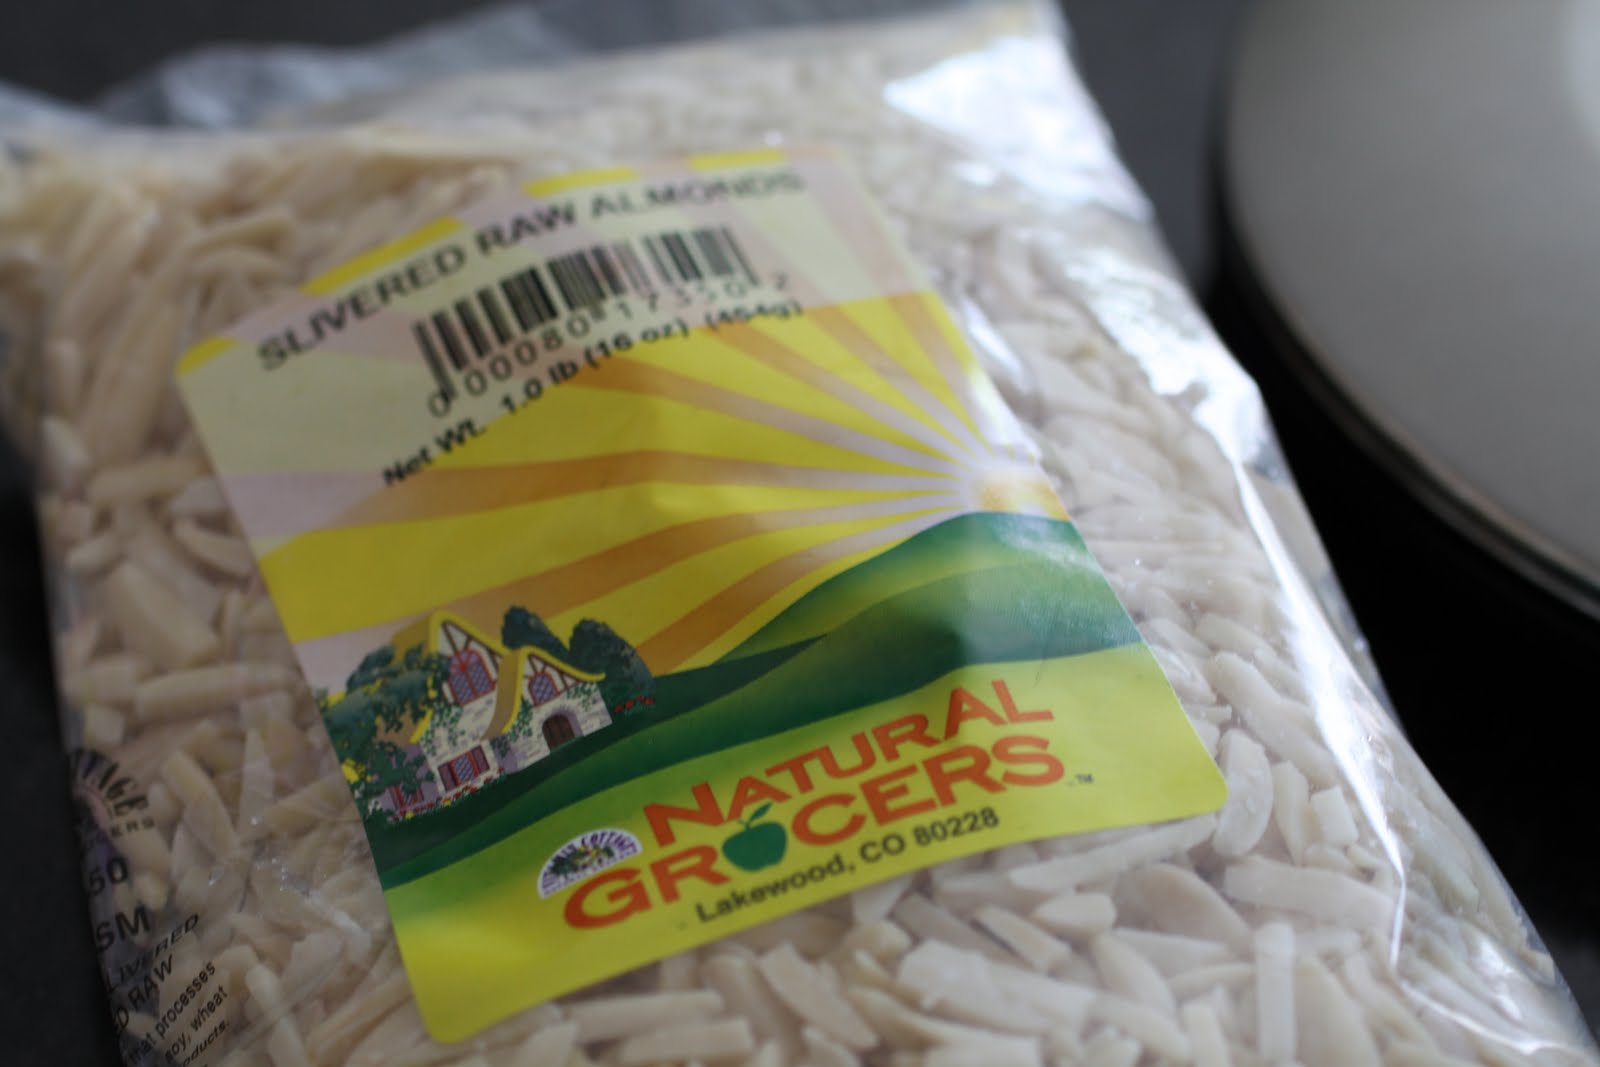
120 grams blanched almonds
200 grams powdered sugar
100 grams egg whites, aged
pinch cream of tartar
30 grams granulated sugar
food coloring gel
One to two days before:
Separate egg whites into a metal or glass bowl, cover and store in refrigerator. Place egg whites on counter, at room temp, 12 hours before proceeding with recipe.
1. Prep two heavy aluminum half sheet pans by lining them with parchment or silicone liners. Prep your pastry bag and tips (if using).
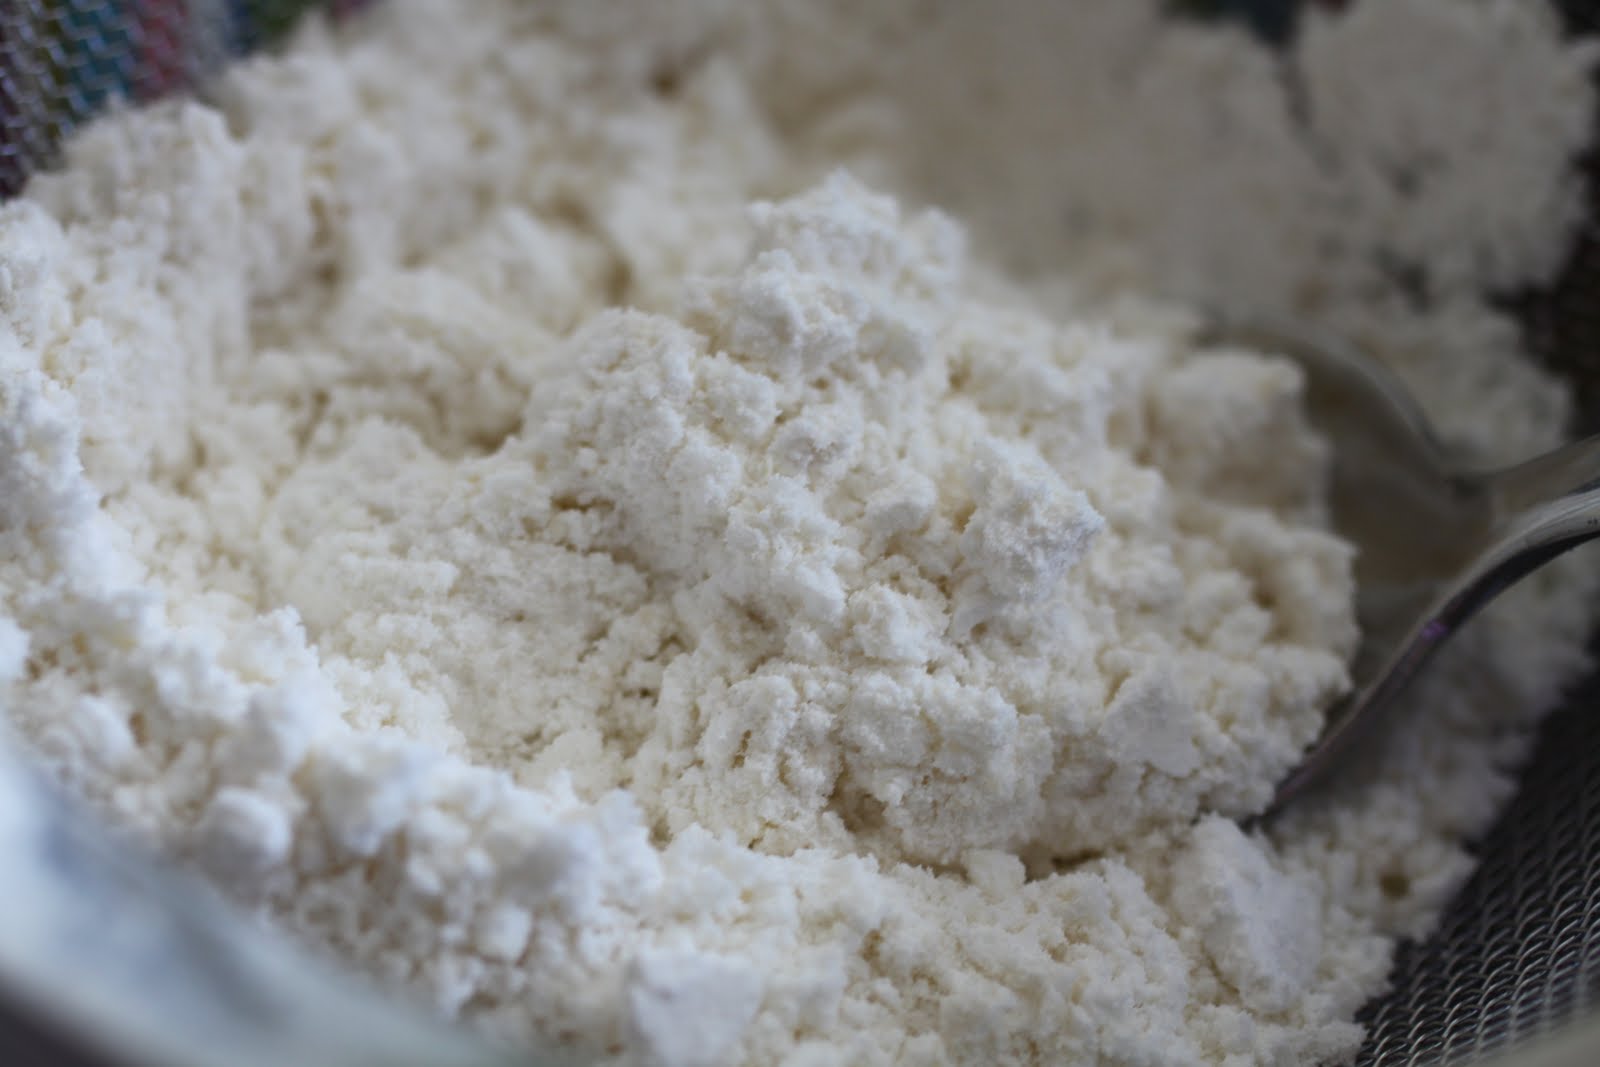
2. Make your almond meal by weighing and grinding almonds and powdered sugar in food processor. Sift and set aside.

3. Weigh granulated sugar and set aside. Weigh egg whites and place in metal or glass bowl. Using a hand held beater or a whisk, egg whites on low speed until foamy. Add a pinch of cream of tartar. (Omit if using copper bowl.) Slowly sprinkle in granulated sugar as you whisk. Increase speed and beat until stiff peaks. You can tell by lifting the beaters or whisk out of the whites to see it the peaks stand up straight without a beak. Don't overbeat. It's easy to overbeat and once you overbeat, there's no going back. Overbeaten egg whites will form clumps and start to separate from the liquid.
4. Add food coloring gel and then add 1/4 of the almond meal. Gently fold until incorporated. Continue to add the rest of the almond meal in quarters, folding with each addition until you get a thick ribbon-like batter. This is where it gets tricky. The batter needs to mixed more than a sponge or chiffon cake batter but cannot be too runny or your circles will not hold their shape.
5. Pour your batter into a pastry bag (if piping) or drop dollops of batter on prepared baking sheets.
6. Let the batter dry for about 60 minutes on the counter. They should develop a skin and lose their tackiness.
7. Adjust oven rack to the second from bottom slot. Preheat oven to 310 degrees. Bake for about 15 to 20 minutes. (Depending on the size of your macarons. Mine vary in size because I'm not very good about being consistent. I've have the most luck baking them one sheet at a time because I have a regular electric oven.)
8. Remove cookies from sheet once they are cool enough to handle. (This usually only takes about a minute or so. I have chef-fingers - they've been burned so many times with hot foods that they are pretty numb.) I find that when I get it right, the shells easily release from the sheet and when I screw up, the shells stick. Ms. Humble recommends placing them upside down on the rack to cool to prevent hollow shells.
Once the shells are cool, they are ready to be filled. They don't take very long to cool so it helps to have your filling prepared ahead of time. Pipe your ganache or buttercream if you are fancy but I'm not fancy so I simply use a spoon or knife.
Once filled, store them in the refrigerator in the refrigerator for 24 hours. (Hermé says to store them uncovered in a humid refrigerator but most people do not have a dedicated odor-free refrigerator so I say keep them in a container with the lid slightly loose.) This is called "maturing" the macarons. During this stage, the macaron shells will hydrate and absorb the flavors of the filling. Bring them to room temp before serving.
This macaron has not been allowed matured. I bit into it right after assembling it. Did I manage to get the macaron ideal? Thin, crispy, egg shell-like outside, yielding to a meringue-like inside. You can see that the inside has not had a chance to mature (absorb moisture from the filling).

Fillings:
There are endless fillings ranging from a simple fruit jam to fancy-sounding ganaches. For me, the goal is find that balance between sweet but not too sweet. I find the macaron shells are pretty sweet on their own (and I cannot lower the amount of sugar without affecting the structure).
The other goal is to get the moisture just right. I want a filling that is moist enough to help hydrate the shells as they mature, but not too moist that it over-hydrates the shells, drips out and creates a sticky mess for the eater.
I raided my stash of baking essentials and came up with three different fillings this time: coconut chocolate ganache, lychee white chocolate ganache and raspberry pate de fruit. Make the fillings ahead of time and store them in your fridge. You want your ganache to cool and thicken before using.
I’ve been doing a lot of jamming lately. I have jam coming out of my ears. I opened up a jar of my low-sugar raspberry jam for the pate de fruit. The jam has a nice tart bite from the citric.
Raspberry Pate de Fruit Recipe


2 cups raspberry jam (recipe here)
1 envelope pectin
2 teaspoons agar agar powder
Combine jam, pectin and agar agar powder in a medium saucepan. Stir to dissolve pectin. Heat over medium-high heat and bring to a hard boil. Pour into a lined pan and allow to set. Cut into cubes.
Coconut Chocolate Ganache Recipe

Ingredients:
12 ounces semi or bittersweet chocolate, chopped
4 fluid ounces coconut cream
Gently heat coconut cream in a medium sauce pan over medium heat. Pour over chopped chocolate. Stir until smooth. Allow to cool before use. Store leftovers in refrigerator and bring to room temp before using.
Lychee White Chocolate Ganache
(inspired by Pierre Herme and adapted out of desperation)

1 20 ounce can lychees in syrup
½ cup heavy cream
1 ½ pounds couverture white chocolate or 1 pound white chocolate plus 8 ounces cocoa butter
rose water or essence
Drain lychees, reserving liquid. Puree lychees in blender. You will probably need a little lychee syrup to get the blender going. Bring lychee puree and heaving cream to a boil. Pour lychee mixture over chocolate and cocoa butter (if using) in three parts. Mixing after each addition to form an emulsion. Finish with rose water or essence.
I made a batch of violet shells with no plans for the filling. I had a pint of blueberries in the fridge so I decided to hide a fresh blueberry between the shells.

My Observatons and Ramblings:
Aged eggs:

Aged eggs bother me. The batches on the first day were made with eggs that were separated and refrigerated for one day and left out at room temp overnight. The batches on the second day were made with eggs that were simply left out overnight. I prefer the less-aged eggs because the first batch of eggs had a funny smell that made me want to gag. I wonder if it is possible to make macarons with powdered egg whites.
Almonds:
I use blanched almonds and grind them with the powdered sugar in my Cuisinart. I’m not completely happy with the Cuisinart because I cannot get a fine enough grind. I have almond meal that I ordered from Sun Organic Farm but the grind is not much finer. I’ll have to experiment with a different method.
I'm not happy with this batch. I processed the almonds several times and sifted (albeit not with a real sifter) and I still had large grains. Argghh!!

Food Coloring:
I use Wilton gel because: (A) it's easy to find, (B) comes in a wide array of colors, and (C) it's inexpensive. Food coloring powder is hard to come by and liquid will screw up your batter.
Flavorings:
The Asian store is a great place to find new and "exotic" flavors such as jasmine, pandan, jackfruit, durian and sala. Stay away from the mangdana flavor. It's a Thai water bug flavor. I'm not sure if it's imitation or real but I pretty sure I don't want either. I used the Koepoe Koepoe brand of pandan flavored paste and roosen (rose) flavored paste. I really like the pandan paste but wasn't too crazy about the rose paste. My other go-to source is a local spice shop. I am very lucky to have one in my neighborhood. They carry a great selection of extracts and waters. I just bought some orange blossom water.
Piping:
I think pastry bags and piping tips are for the weak. (I really do not. They actually scare me.) I took out my piping bags and tips and promptly shoved them in the corner. I have disposable and cloth bags and a plethora of tips but I decided to live on the edge and use a spoon to create the circles. Are the circles perfect? Hell no! But at least I didn’t have face my fear.

Italian or French method?
I read that the Italian method produces a more stable and reliable meringue. It’s the method that Pierre Hermé uses. I used the French method because I like a good challenge.
Remember to separate your egg whites carefully. I separate each white, one egg at a time, into a small glass prep bowl, and then pour the separated white into a larger glass vessel (such as a glass measuring cup). Why don’t I just simply separate the whites directly into one vessel? I want to isolate mistakes. Mistakes get rejected. The rejected white (and yolk) goes into a different container destined for the breakfast scramble. When whipping egg whites, fat is the enemy. Don’t let even a speck contaminate your whites. That’s why it’s important to only use glass or metal vessels. You will never be able to get all of the fat out of a plastic bowl so don’t even bother. Wash and dry your glass or metal bowls well. Copper bowls will help stabilize whites. Don’t worry if you don’t own a copper bowl. Use a pinch of cream of tartar and it should have the same effect.
Baking:
There are several methods out there and Ms. Humble lists her experience with the various methods. I just baked them at 310 degrees with the door closed as written in her recipe. It worked fine for me.
Mixer:
I know that the Kitchenaid is a piece of equipment that most serious cooks feel is an integral part of a well-equipped kitchen. And after shelling out hundreds of dollars and spending countless hours deciding on the right shade to match your kitchen, it seems that it should be used for almost every recipe that calls for whipping, paddling or kneading. I prefer to use the whisk attachment that came with my immersion blender for this task. My 6 quart Kitchenaid is very good with huge amounts of bread flour but is rather inept with 3 egg whites. 100 grams of egg whites is about 3 large egg whites (give or take a few grams).
Silpat vs parchment:
I prefer silicone liner because I hate waste. The feet on the parchment was slightly better than the feet on the silicone liner but the difference was negligible. I wouldn't mind so much if I was able to reuse the parchment for a few batches but I couldn't even get a second use out of a sheet of parchment.
This batch was baked on parchment. Not too much of a difference but slightly taller. If you do it right, parchment should produce taller and more compact feet.

This batch was baked on a silicone liner.

I think crinkly feet is better than no feet.

Top: Reusing parchment paper results is ripply bottoms that stuck. I guess the silicon coating doesn't last. Bottom: Silicone liner

Pandan-flavored macaron fail. I think I was too careful with the folding and didn't look for the flowing magma-like batter. (Maybe my problem is that I've never seen flowing magma before.) I was also a little impatient and didn't allow them to dry long enough. The second sheet were a little better but not by much. I think they actually look a little cute. They remind me of crinkle cookies. (But I wasn't trying to make crinkle cookies.)


Colors used: Koepoe Koepoe pandan paste in green, Koepoe Koepoe roosen paste in rose & Wilton icing colors gel in rose, Wilton icing colors gel in violet, and Wilton icing colors gel in teal.


1 comments:
Hello. May i know how much violet wilton gel you mix in to get such a strong purple colour?
Post a Comment